| Editing screen layouts basics | |||||||
|
Almost every item on NHeat's User interface can easily be customized - it's position on the screen, the way it looks, the way it acts. Since there's quite a lot of items on all the various NHeat UI screens, be aware that it may become quite a lot of work to have a fully customized UI. On starting up each screen NHeat reads a LYT file that defines this screen's layout. For almost every screen there's a LYT file in UI.RES. If you cannot find any of the mentioned items in UI.RES, check COMMON.RES for example. A LYT (LaYouT) is a binary file where each item's attributes (position, height, length, background/foreground color, font, image file name, controller type, etc) are defined. All of these attributes can be changed - it's even possible to change/add/delete which items to use on the referring screen
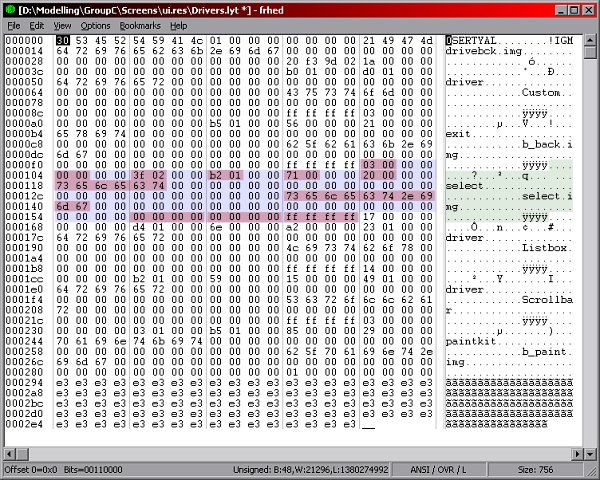
There's a NHeat Screen layout editor available at The Mod Squad's site, but up to now it only supports editing for a handful of screens, and it doesn't support full LYT editing capabilities. Like for example changing fonts, font colors or switching items. How to get on manually editing a screen layout is best explained on an example. Let's for example have a look at DRIVERS.LYT, which controls driver selection screen. Load DRIVERS.LYT to a hex editor like for example FrhEd
 Starting on pos offset 000014, you'll find what file to use for background image for this screen. Here's DRIVEBCK.IMG to be used. If you want to use a different background image file, for example NEW_BACK.IMG (or any other IMG file), just put this in, starting at pos 000014.
The screens background image definition is always first settings on each LYT file, and it's the only definition that's a little different to all following defintions in the LYT file. All other item's attributes definitions have same structure

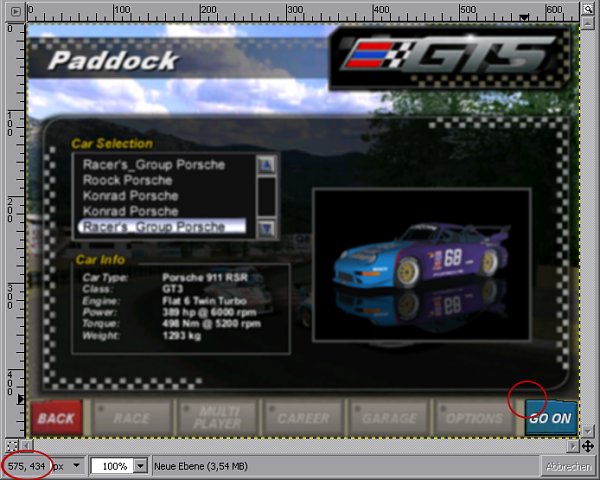
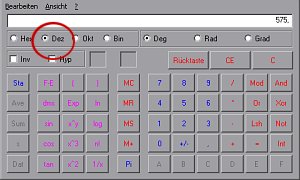
 For the position of the button's top left corner you should get something like x,y = 575,434. Now open the calculator that comes shipped with MS Windows. Switch it to scientific view. Enter 575 as dezimal value, then switch to Hex mode.
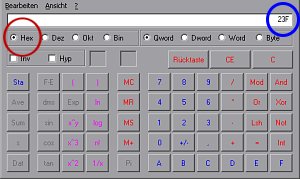
  You get displayed : 23F. Which can be read as 02 3f as well and which is 3f 02 if you put it to reverse, which is how Heat treats hex values: Last 2 bytes on a hex values come first (3f), first 2 bytes (02) come last.
 So for moving the select button's position 10 pixels upwards and 25 pixels to the right (x,y = 565,459), we'd have to change value in LYT file to
 Changing settings for any item works this way. Numerical values for x,y,width, height, color have to be entered reverse hexadecimal; text values for naming image files, identifiers, controllers, fonts or just screen text can to be entered straight forward in the character column of the hex editor If you want some button (any item) not to show up on a screen, you could simply position it outside the screen's dimensions (which is 640x480 by default) - or cut it's definitions off the LYT file.
In most cases it's no problem to move item definitions in the LYT file, but sometimes you may get unexpected sideeffects, as some item's functionality may be bound to some certain order of other item definitions. So better always have a backup of your last working LYT file ....
|
|||||||
